How to Choose the Right HDPE Conduit Diameter for Fiber Installation
Blog
6 Min Read
SHARE:
How to Choose the Right HDPE Conduit Diameter for Fiber Installation
Select HDPE conduit diameter through a project-specific review of cable dimensions, route conditions, installation methods and future capacity.
Selecting an HDPE conduit diameter for fiber installation requires more than matching a cable to a nominal trade size. Review the cable outside diameter, cable count, usable conduit interior, fill ratio, pull tension, bend radius, route geometry, installation method and future capacity before approving the design.
Do not apply a universal rule such as “one cable always requires one-inch conduit.” That approach can create excessive fill, difficult pulls, limited expansion capacity or incompatibility with project specifications.
Use this process to develop a defensible fiber optic conduit sizing decision.
Start with the cable specifications
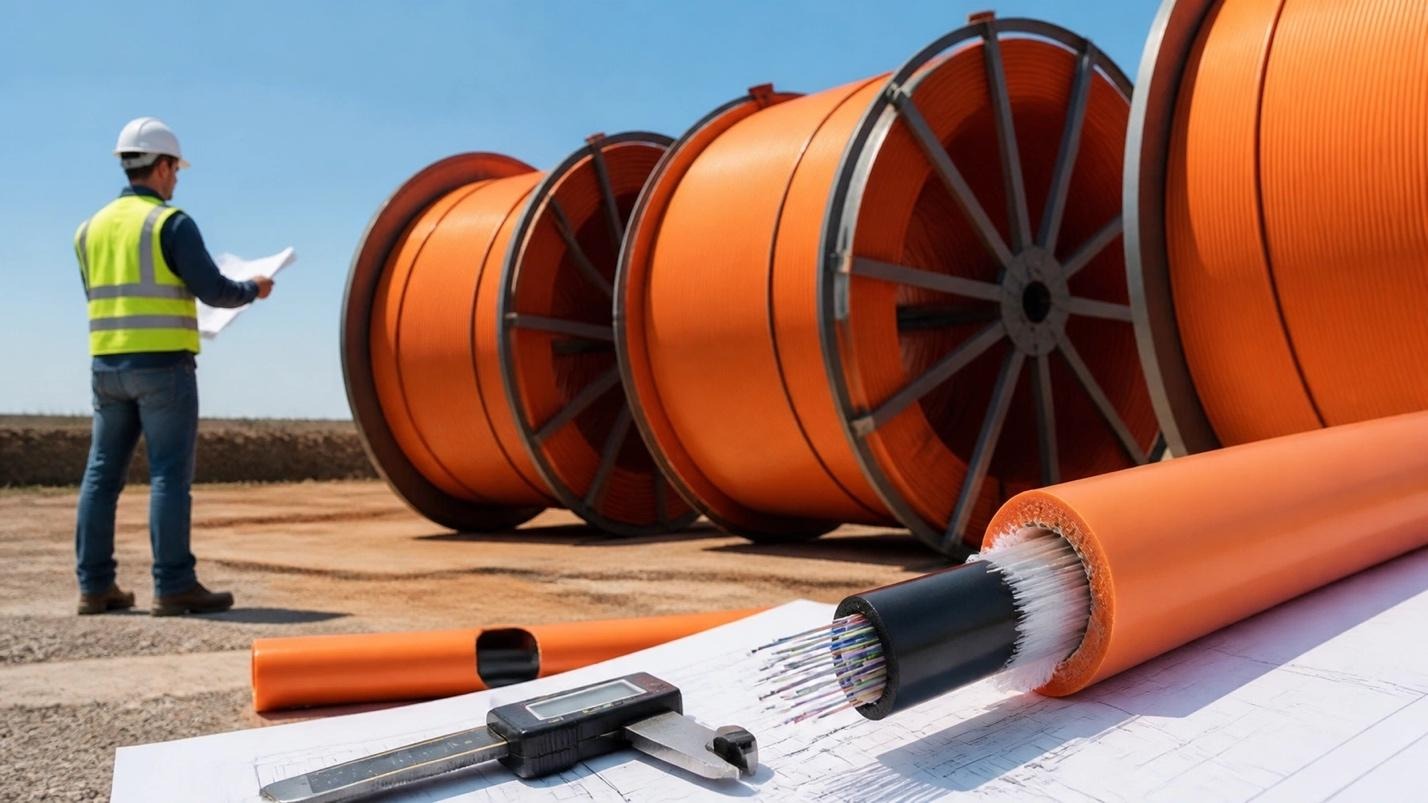
Obtain the current cable data sheet before selecting conduit. Record:
Cable outside diameter (OD)
Cable weight per unit length
Maximum allowable pulling tension
Minimum static and dynamic bend radius
Approved pulling or blowing methods
Lubricant compatibility
Recommended installation temperature range
Cable construction and jacket material
Use the largest applicable cable OD when the route may carry more than one cable type. Include messenger components, preconnectorized ends or other features that may affect installation clearance.
Do not size the conduit using the fiber count alone. Two cables with the same fiber count may have different outside diameters and installation limits.
Distinguish nominal size from usable interior space
A conduit nominal size does not equal its usable inside diameter. The actual interior depends on:
Nominal diameter
Wall thickness
SDR or DR
Manufacturing tolerances
Internal surface condition
Fittings and transitions
Installed deformation or deflection
Use the manufacturer’s published average inside diameter for the specific conduit configuration. Do not calculate capacity from the outside diameter or nominal label alone.
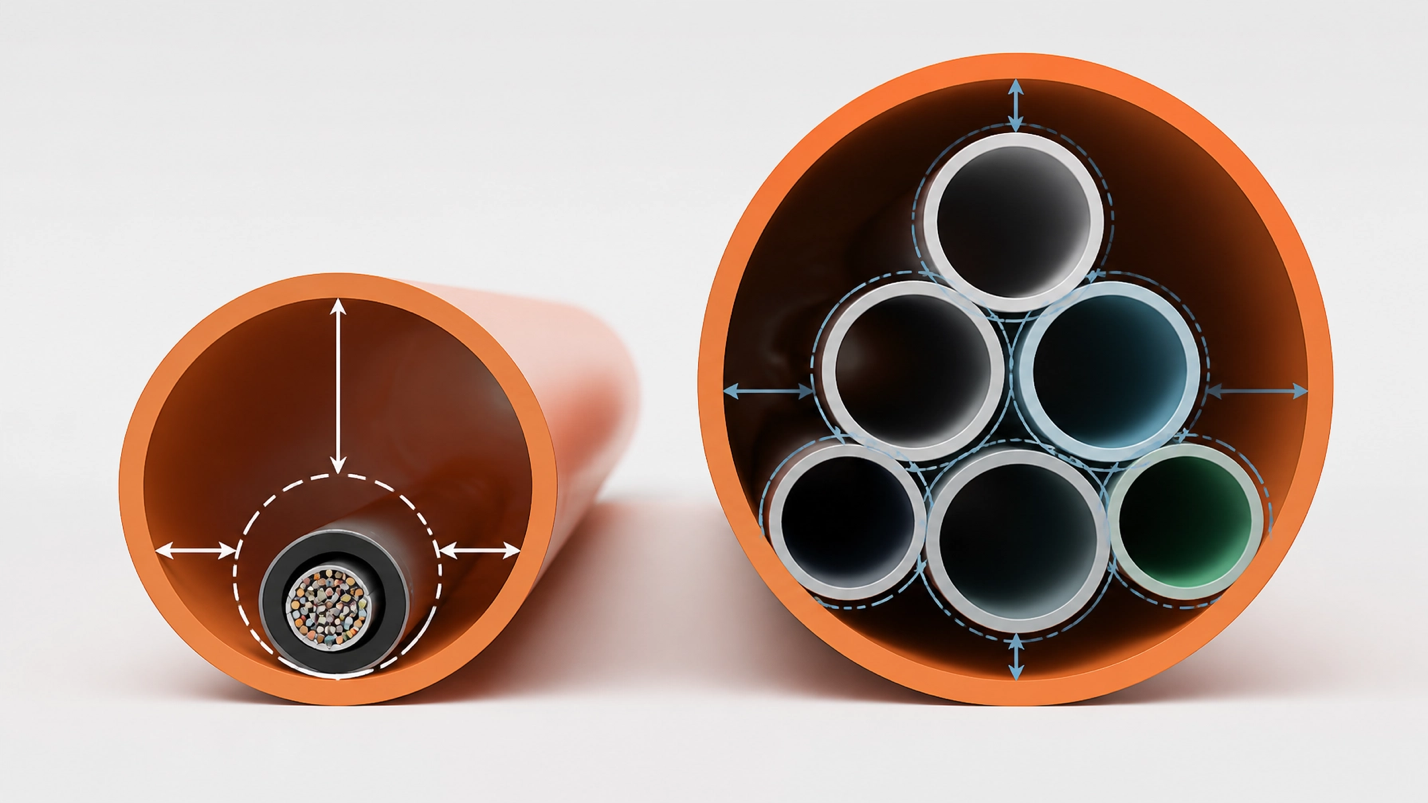
Evaluate usable interior space rather than relying on nominal conduit diameter.
Calculate cable fill
Cable fill describes how much of the conduit interior is occupied by the cable or cables. Use it as an initial screening calculation, not as the only design check.
For a single round cable, compare the cable diameter with the conduit inside diameter. For multiple cables, calculate the combined cable cross-sectional area:
> Cable fill ratio = total cable cross-sectional area ÷ usable conduit cross-sectional area
For circular components, cross-sectional area is calculated as:
> Area = π × diameter² ÷ 4
Apply the fill limit required by the project owner, applicable code, installation method and engineering standard. Do not treat one percentage as appropriate for every route.
Lower fill may be appropriate when the route includes:
Long pulls
Multiple bends
Difficult access
High cable weight
Sensitive cable construction
Limited installation control
Future cable additions
Blown fiber and microduct systems require a different review. Airflow performance depends on the relationship between the cable and microduct interior. Use the microduct and cable manufacturer’s installation guidance instead of applying a pulled-cable rule.
Evaluate pull length and pulling tension
Conduit diameter affects installation friction and cable movement. A larger usable interior may provide additional clearance, but it does not eliminate pulling risks created by route length or bends.
Review:
Maximum continuous pull length
Number and severity of bends
Cable weight
Conduit friction
Lubricant requirements
Pulling equipment
Pulling rope or tape
Intermediate access points
Cable manufacturer pulling limits
Conduit safe pull strength
Compare the calculated or modeled installation tension with the cable manufacturer’s maximum allowable pulling tension. Also review the conduit manufacturer’s published safe pull information for the selected product and configuration.
Do not invent a pull-tension allowance from conduit diameter alone. The Viaflex conduit product page provides a safe pull strength table for applicable standard-strength conduit configurations. Confirm that the table applies to the selected size, SDR or DR and product type.
Use access points to divide long or complex routes when the design review shows that one continuous pull could exceed allowable tension. Coordinate pull boxes, handholes and vaults with the route owner and installation contractor.
Check bend radius and route geometry
Review both the cable minimum bend radius and the conduit bending requirements. The final route must protect the cable during installation and after placement.
Map:
Horizontal and vertical deflections
Directional changes
Entry and exit points
Sweeps
Transitions between conduit sizes
Handholes and vaults
Road, rail and bridge crossings
Directional drilling segments
Aboveground terminations
Avoid tight elbows when the route can use long-radius sweeps. Confirm that each sweep provides adequate clearance for the cable installation method.
Do not assume that a larger conduit automatically permits a tighter bend. The cable bend radius remains a controlling requirement. The conduit, fittings and installation equipment must also support the planned geometry.
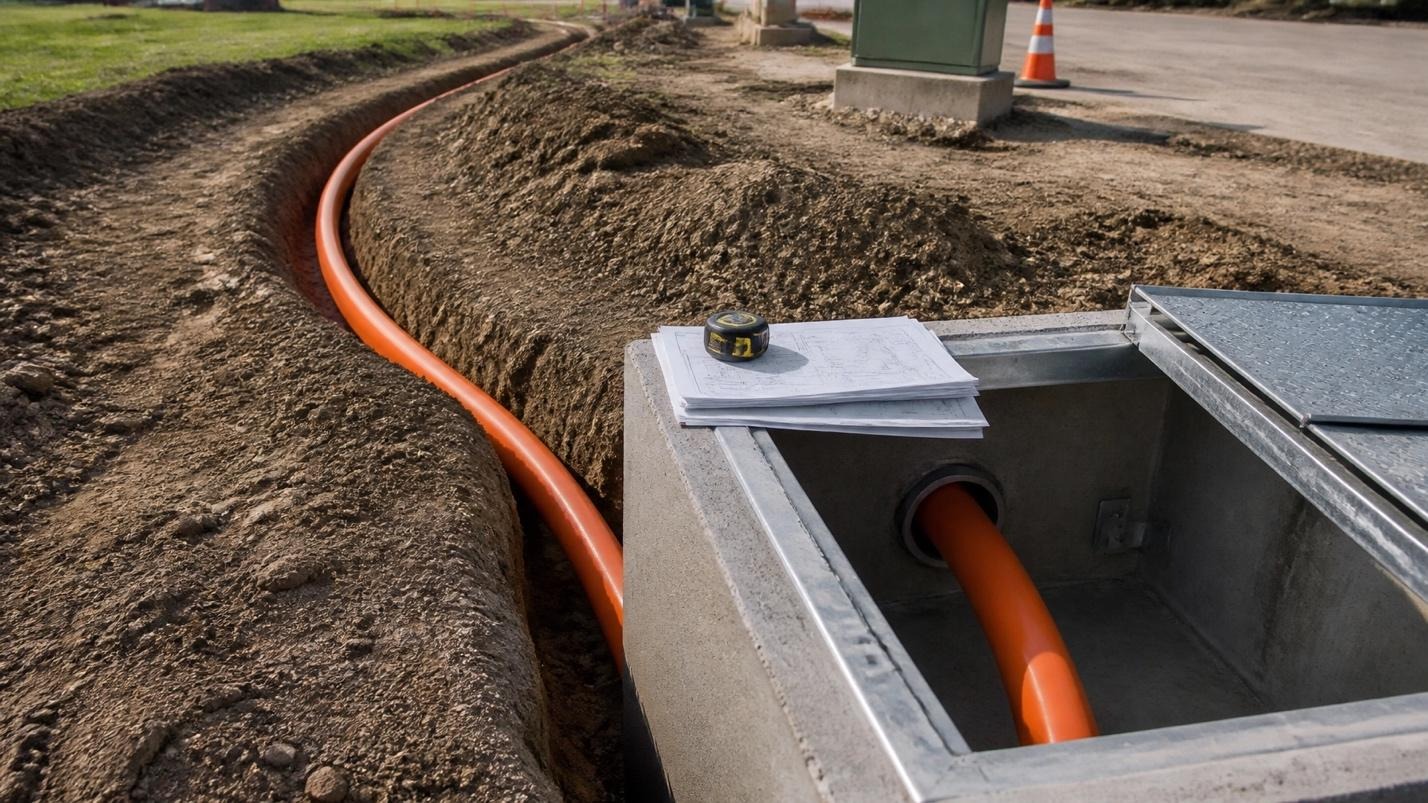
Coordinate conduit diameter with sweep geometry, access points and cable bend-radius limits.
Decide whether to use innerduct or microduct
Use innerduct when a larger conduit must be divided into separate pathways. This approach may support:
Multiple fiber routes
Customer or service separation
Reserved capacity
Easier cable identification
Future additions
Rehabilitation of an existing conduit
Select the innerduct arrangement by checking the outside dimensions of the innerducts against the main conduit’s usable interior. Include installation clearances and do not assume that a stated combination will fit every SDR or DR configuration.
Use microduct when the project is designed for smaller fiber cables or air-assisted installation. Microduct may be appropriate when the project requires incremental deployment within a shared pathway.
Specify the microduct outside diameter and inside diameter separately. Do not use the nominal microduct size as the cable clearance value.
HDPE conduit diameter decision table
Avoid these common sizing mistakes
Use nominal diameter as inside diameter. Obtain the actual product ID.
Size by fiber count only. Use cable OD and installation limits.
Ignore wall thickness. SDR or DR changes usable interior space.
Apply one fill percentage to every installation. Match fill criteria to the project and method.
Ignore future capacity. Confirm whether the pathway must support later expansion.
Forget fittings and transitions. These components can restrict cable movement.
Treat a straight route as friction-free. Long runs still create pulling tension.
Use tight bends to solve route conflicts. Redesign the route or add access points.
Assume a larger conduit solves every problem. Verify bend radius, pull tension and installation equipment.
Approve a product without reviewing the current documentation. Confirm size, wall type, SDR or DR, color, printing, pull tape and other configuration details.
Diameter-selection checklist
Complete each item before releasing the conduit design:
Obtain the cable manufacturer’s current data sheet.
Record cable OD for every planned cable.
Record maximum pulling tension and minimum bend radius.
Define the installation method.
Identify the longest pull section.
Map all bends, sweeps and transitions.
Identify handholes, vaults and other access points.
Obtain the selected conduit’s actual inside diameter.
Calculate preliminary cable fill.
Review pull tension for the complete route.
Evaluate innerduct or microduct requirements.
Reserve capacity where the project requires future expansion.
Compare the design with owner specifications and applicable requirements.
Confirm the exact Viaflex product configuration before ordering.
Frequently asked questions
What HDPE conduit diameter should be used for one fiber optic cable?
No single diameter applies to every cable or route. Select the conduit by comparing the cable OD with the actual conduit ID then verify fill, pull tension, bend radius, installation method and project specifications.
Does a larger conduit always make fiber installation easier?
A larger conduit may provide more clearance and lower cable fill. It does not eliminate excessive route length, tight bends, improper access points or cable tension limits. Verify the complete installation design.
How does SDR and DR affect conduit sizing?
SDR or DR reflects the relationship between conduit diameter and wall thickness. Different wall thicknesses can produce different usable interior dimensions under the same nominal size. Use the manufacturer’s dimensitonal data for the selected configuration.
Should future fiber capacity affect conduit diameter?
Yes. Determine whether the owner expects additional cables, separate services or future network expansion. Reserve capacity through a larger pathway, spare conduit, or innerducts when the design requires it.
When should a project use innerduct or microduct?
Use innerduct to divide a larger conduit into separate pathways. Use microduct when the cable and installation method are designed for smaller ducts or air-assisted installation. Confirm compatibility with the cable and duct manufacturers.
Does Viaflex manufacture HDPE conduit for telecom projects?
Yes. Viaflex manufactures HDPE pressure pipe and conduit for telecom and other markets. Viaflex manufactures these products up to 4 inches in diameter. Confirm the current availability of the required diameter, SDR or DR, wall thickness, color, printing, pull tape and other configuration requirements.
Select the conduit through a documented design review
Choose HDPE conduit diameter by reviewing cable dimensions, usable interior space, fill, pull tension, bend radius, route geometry, access points, installation method and future capacity together. Treat nominal size as a starting point rather than a final answer.
Viaflex offers HDPE conduit and HDPE pressure pipe products supported by current product documentation and market expertise. Review the Viaflex HDPE pipe and conduit products, confirm the requirements for your project and contact Viaflex for product and configuration guidance.